
In this post we take a look inside our RV’s air conditioning system to see if we can make any improvements. Read on to find out how we greatly increased the efficiency of our RV’s two air conditioning units.
UPDATE: After this post was published we established a relationship with RVAirFlow to offer you a discount! Use code METAPHYSICAL.FAMILY at checkout to receive 15% off your order.
Anyone who has lived in an RV has spent time and money trying to improve the cooling efficiency of their air conditioners. Most of these efficiency upgrades come in the form of air flow modifications.
If asked to give an opinion of the installation of the air conditioning units in our RV, I would have to say that it was not completed as well as it could have been. I would not go so far as to call it poor work, but it certainly wasn’t great work.
The roof of our RV is constructed in layers. The ducting for the air conditioning vents runs within these layers of the roof. They start (or end, depending on perspective) within the large box at the rear of the RV, run down both sides of the rig, and all the way to the front air conditioning unit in the master bedroom in theand first set of registers front.
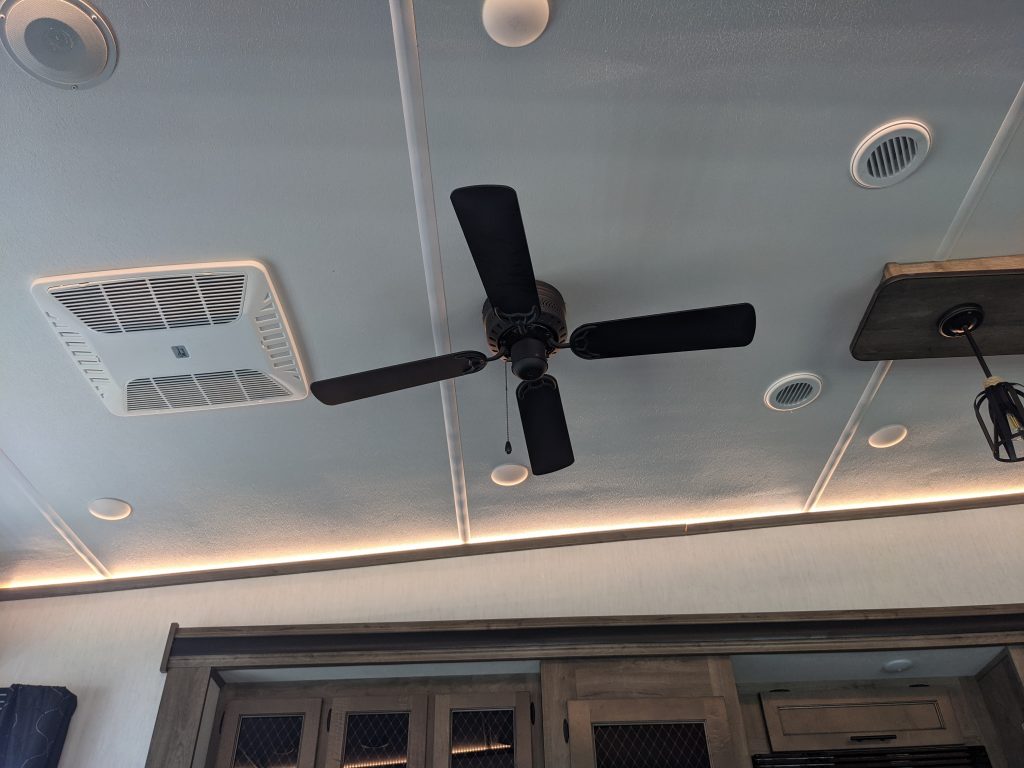
The 36BHQ features two 15,000BTU Coleman Mach 15 air conditioning units
Seal the Ducting
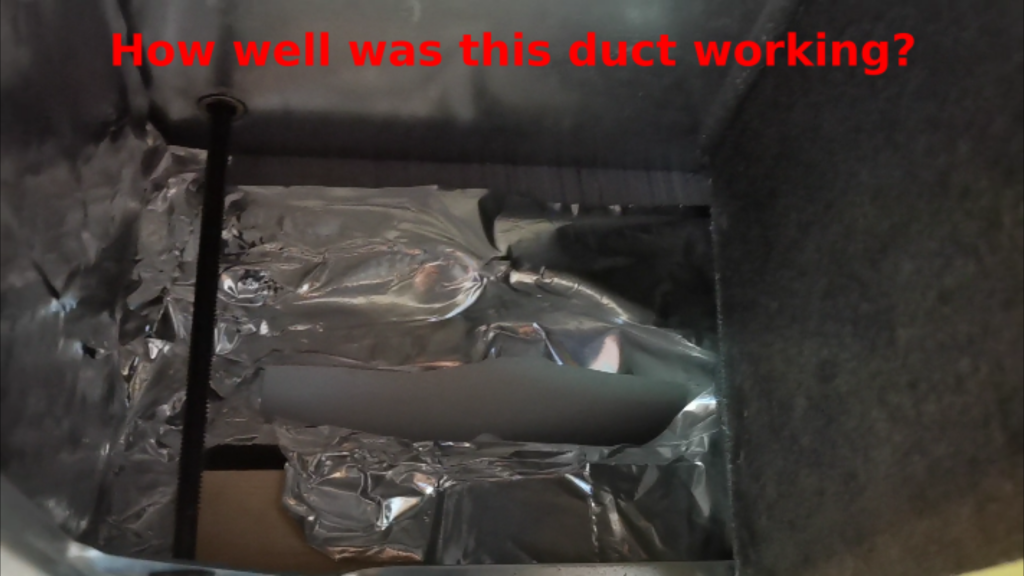
Where these ducts terminate into the air conditioning charge chambers is a well known trouble spot in the RV world. RVs sometimes end up assembled with poorly taped up joints at the ducting. This can allow conditioned air to be blown into the ceiling space instead of the ducting where it belongs.
Forest River actually did make an attempt to tape up the joints at the factory. They had used aluminium tape to seal the gaps between the air chamber and the roofing structure of the RV pretty well. Unfortunately, the ducting had been taped up in a way that greatly restricted the air conditioning. The tape covered the duct openings, and the ducts themselves were pinched nearly closed.
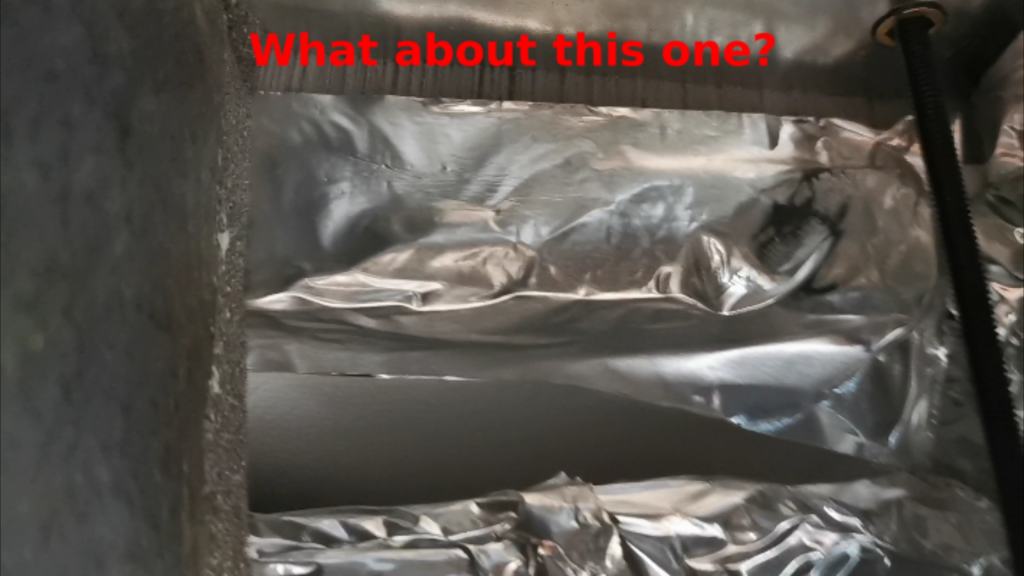
Fixing the tape situation helped the system breath much better than before. We noticed a perceptible difference in the air coming out of the registers near the running unit. We were also able to detect airflow at the opposite end of the vents from the running unit. There had been no detectable airflow at the opposite end of the ducting prior to the re-taping of the vents.
Dumping the Dump Plates
The Coleman Mach 15 air conditioners that service our unit came installed with what the RV world calls “dump valves”. The intention is that this valve can be opened to dump conditioned air directly into the compartment. Some air still enters the duct work, but most of the air is dumped directly below the unit.
Many RVers choose to change how this works in order to get more air into the duct work. The DIY approach involves sealing the cold side of the air conditioner with foam board insulation. This approach is certainly an improvement over the factory configuration, but there is a still better way.
Enter RVAirFlow
For those that would like a little more fit and finish for their RV Air Conditioning system there is RV AirFlow.
The RV AirFlow offering does what the DIY approach above intends to do. The difference is that the RV AirFlow was designed by a person with an understanding of fluid dynamics and 30 years experience in this area. In fact, the RV AirFlow works so well that Grand Design now includes them in their RVs from the factory.
Installation
Installation of the RVAirFlow unit is fairly straightforward. Instructions are included with some RVAirFlow units, but not all. We ordered two as our RV has two AC units. The first RVAirFlow we opened to install did not include instructions. We got it installed, but it would have gone faster with the instructions we found the following day when we opened the second box.
Installation steps for the 2022 Forest River Sabre 36BHQ are as follows:
- Remove the four screws holding the outer cover.
- Remove the inner plastic cover.
- Place both covers somewhere out of the way.
- Remove the foam partition board installed at the factory.
- Use aluminum tape to seal any gaps between the air box and the ducting properly
- Remove the four long bolts holding the AC unit to the roof. Be sure to support the large metal plate that the bolts pass through.
- Place the provided foam weather stripping around the protrusion on the plastic pieces that go into the vents.
- Place the plastic pieces into the vents.
- Now gently maneuver the RVAirFlow unit into position in the air box. A helper is beneficial at this step to either push the large foam piece into place, or hold the plastic duct spreaders out of the way.
- Reinstall the metal plate and the four long bolts holding the AC unit to the roof. There is a large gasket between the AC unit and the roof. Do not over-tighten.
- Reinstall plastic pieces and filters.
- Enjoy your greatly improved air conditioning performance!
Is RVAirFlow worth it?
Maximizing the efficiency of your RV’s air conditioning system is critical to a comfortable RV experience in warmer weather. While some manufacturers don’t apply as much attention to detail in this area as they should, RVAirFlow being installed on some makes and models of RV at the factory may indicate a positive change.
There is no question that the RVAirFlow improved the efficiency of our RV’s AC units. Before RVAirFlow the AC ran nearly constantly on a warm (not even hot!) day. And they were LOUD. The bedroom unit made it hard to sleep, and the living room unit would drown out the TV. After RVAirFlow the AC is off more than it is on, and they are much quieter when they are on — still far from silent, but better than before.
We are very pleased with our purchase of the RVAirFlow system for our Sabre 36BHQ’s two AC units. We can certainly see why these would be installed at the factory going forward.
If you are looking for a way to get more cooling out of your RV’s air conditioner, consider an RVAirFlow (after taping up the ducting!). Don’t forget to use discount code METAPHYSICAL.FAMILY at checkout to receive 15% off!