
When we purchased our 2022 Forest River Sabre 36BHQ we knew that we would have to build in an RV home office. In this post we discuss how we solved this problem with a custom “built-in”.
RV Home Office
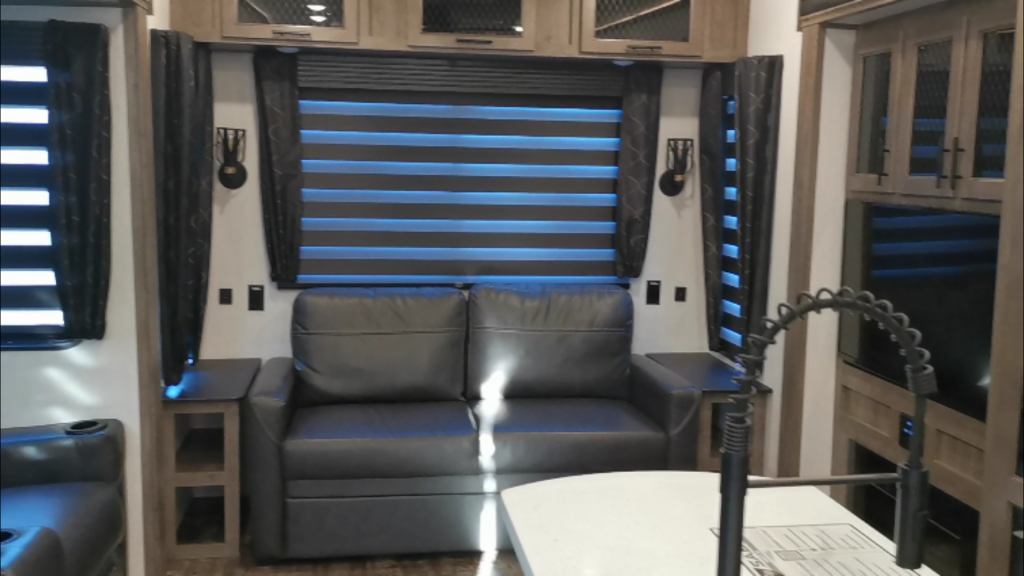
We decided to go with the 36BHQ floorplan because of the large windows in the rear of the rig. We planned to build our work area into this part of the RV from the start. We wanted to have a working space that looked outside. We imagined backing into a lakeside spot and parking with the rear of the rig hanging out over the water’s edge.
Inspired by how well the Home School Desk worked out, Sam began to design a combination folding desk and bookshelf for the rear of the RV.
The Plan

We couldn’t decide if we wanted to keep the factory installed table/shelf units next to the couch, so we retained them for now.
The cabinetry in our Sabre 36BHQ is pleasant enough to look at, and we wanted the desk to match the rest of the RV. The cabinetry in the RV is not wood, but MDF covered in a plastic veneer. We do not know where Forest River sources their materials from, but “Cottage” finish Dakota products from Menard’s are a perfect match.
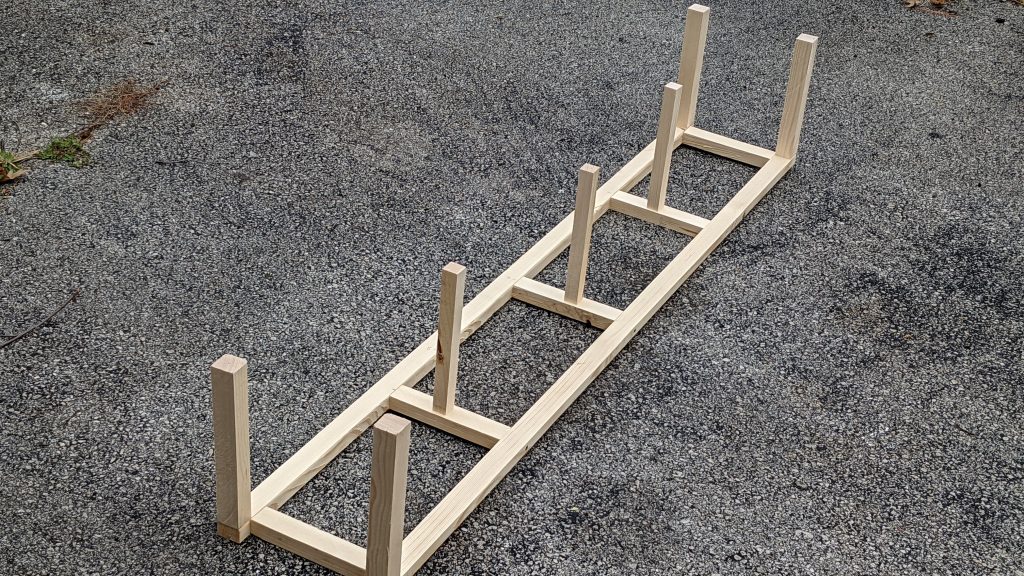
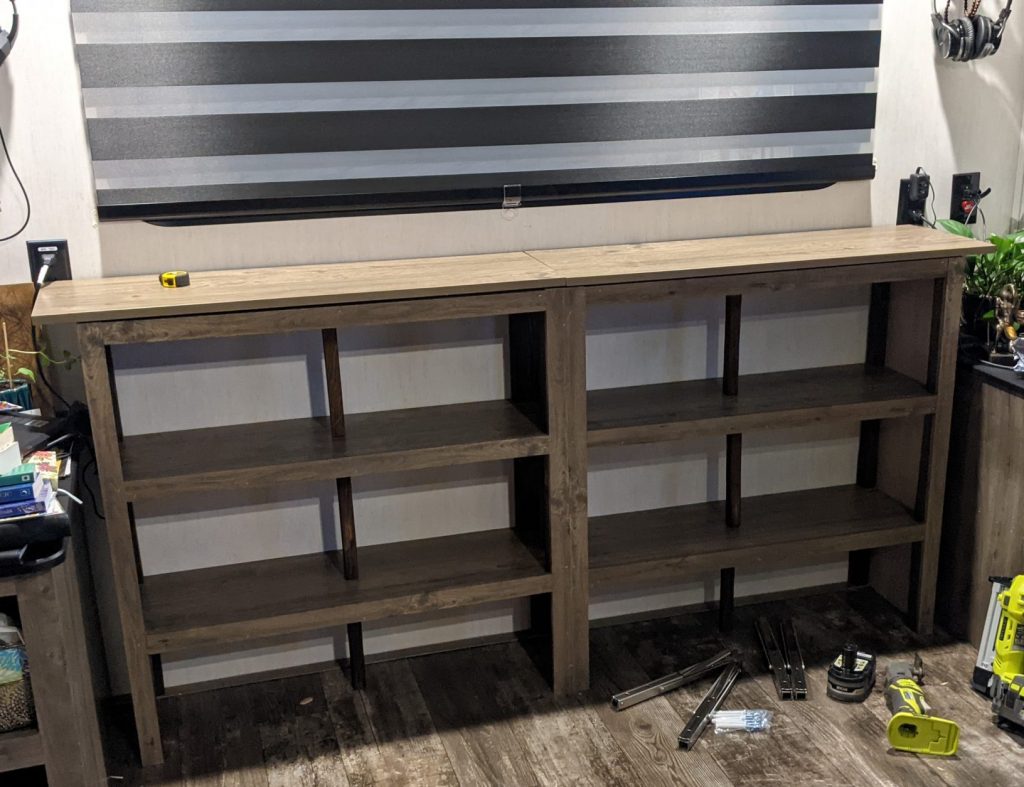
We built the skeleton for the desk unit using standard 2×4 pine lumber. The boards were cut to length, then ripped to the correct dimensions using the table saw. Using this lumber the shelf is built of three pieces like the one below.
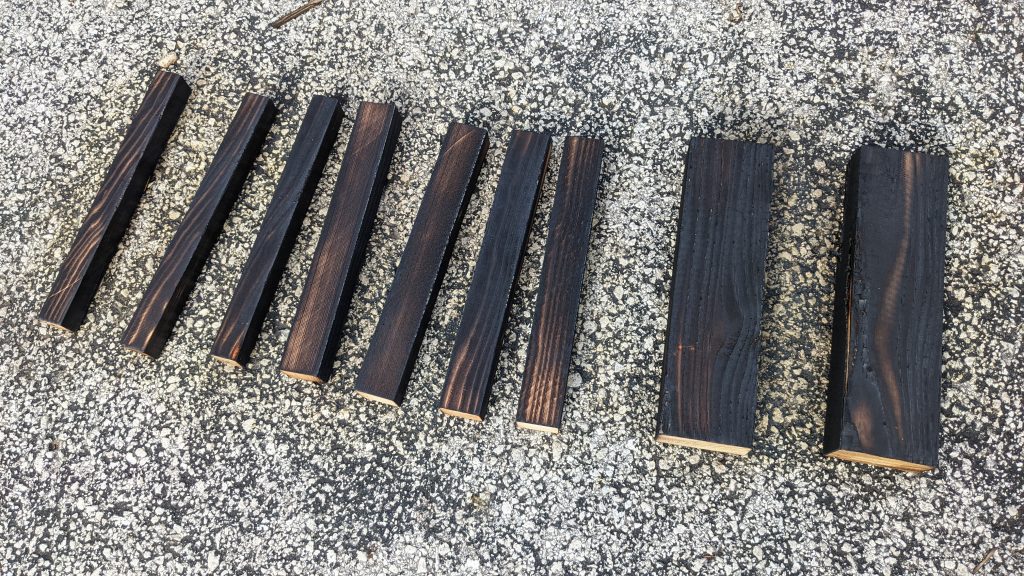
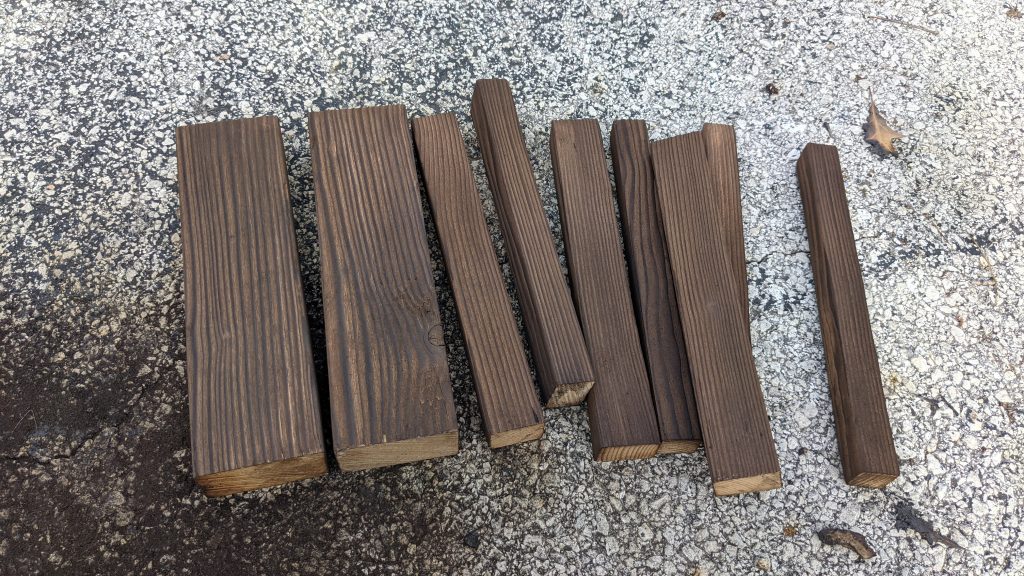
To subdue the yellow pine “bones”, we applied a yakisugi finish to the wood before assembly.
Assembling The Cabinet
After the skeleton components were assembled the facing boards and cabinet skins were installed. The three shelf sections are screwed to each other. Additionally, each side of the shelf unit has a 1/4″ piece of “Cottage” finish handi-panel acting as a side skin. This skin is stapled to the skeleton for added rigidity.
This created the basic structural shape of the shelf in its finished dimensions, less the fold down work areas.
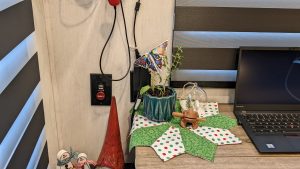
Relocating Receptacles
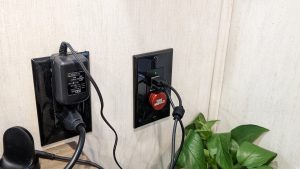
As can be seen in the picture, the top shelf is interfering with access to the 120V outlet on either side of the desk.
We had planned to relocate the electrical outlets up the rear wall slightly so that they would be above the top shelf’s surface. We considered placing the outlets below the shelf to hide them, but were concerned that the “drywall” repair would be unsightly. We also thought that placing the outlets above the shelf would make them more convenient for plugging things into those outlets.
To move the receptacles up the wall we first measured how far the outlet needed to move. Then we used a reciprocating undercut saw (NOT a “saws all”) to remove that much material from the top of the existing hole in the wall. We then used this piece of wall material that we removed to fill the (now too-big) bottom of the hole.
We did this with a small piece of thin pine lumber as support. A wooden paint stirring stick would also suffice. We then CA glued the bit of wall we removed to the center of the pine board, and then CA glued the pine board to the back of either side of the opening. After the glue dried we filled the gaps with drywall compound, and then sanded the area smooth the way one would in a traditional house.
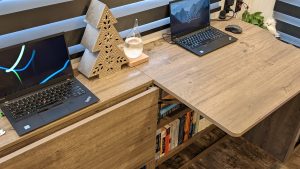
Desktops And Edge Banding
After everything else for the desk was ready we went to work on the tops. Since the top shelf of the desk is wider than the opening between the two cabinets, the desktops have a curved transition to the top.
We used 3/4″ handi-panel for the desktops. As raw MDF is unattractive to look at, we purchased some PVC edge banding. Edge banding makes an MDF DIY furniture project look attractive and “finished’.
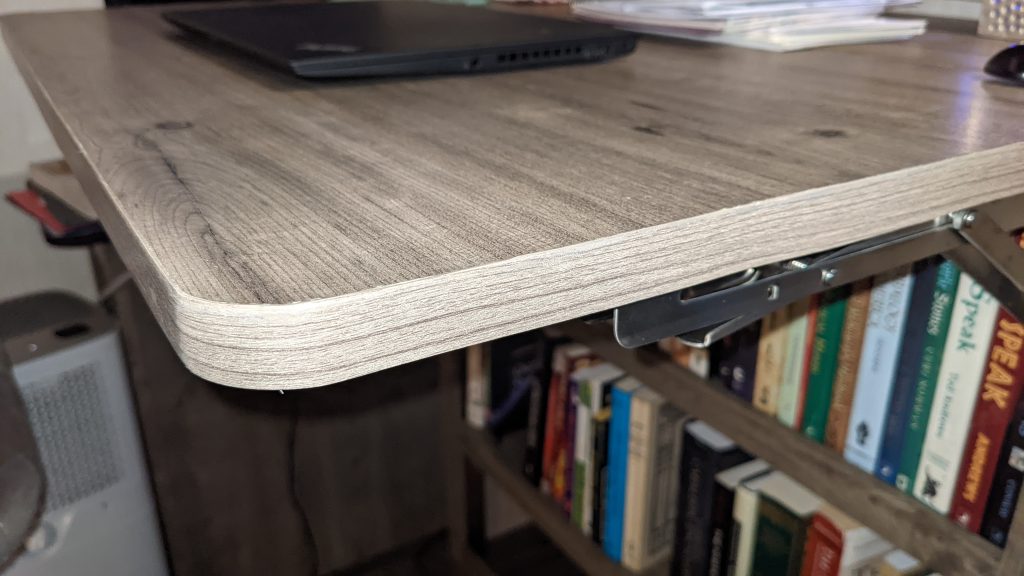
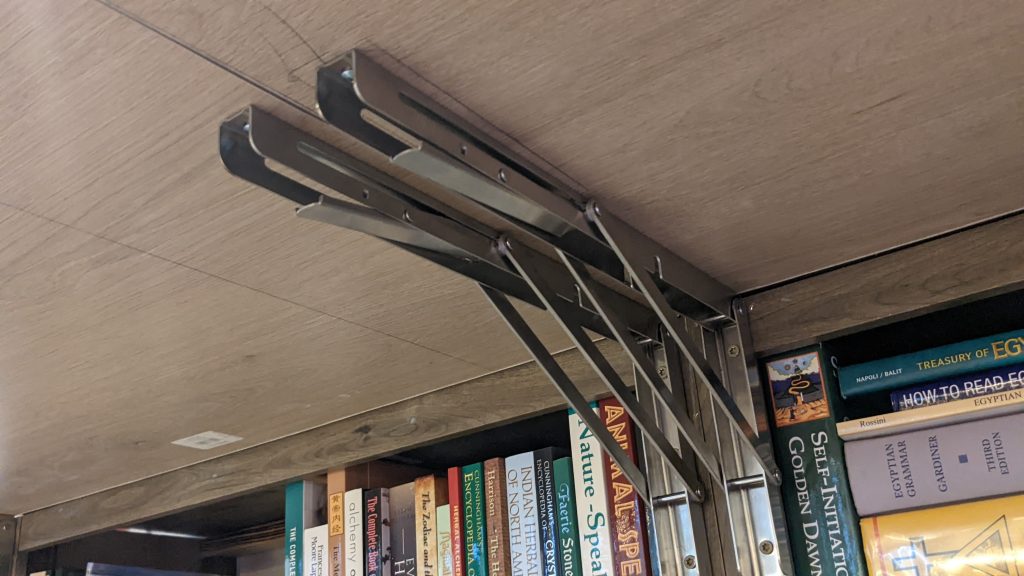
Folding Shelf Brackets
The key feature of this desk configuration is that the desks store away when they are not in use. This is facilitated by the folding shelf brackets. These are the same brackets we used in the kid’s desk project. The brackets are rated for 440 pounds – plenty to hold a laptop and accessories, paperwork, or school work.
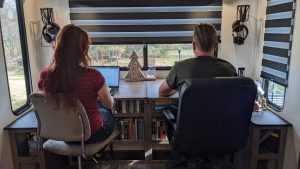
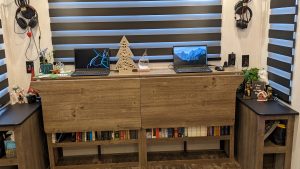
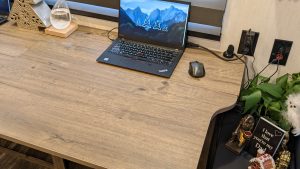
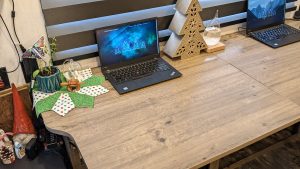
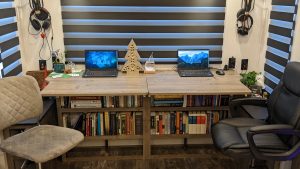
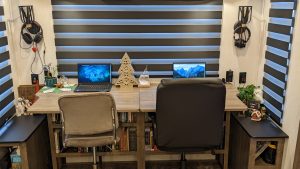
The Finished Product
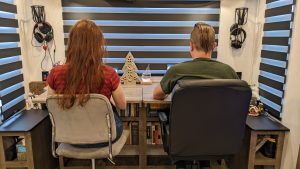
We really like the bookshelf and folding desk. It allows us to have a dedicated work area with a view, and it has lots of storage.
Either side of the desk can be used while the other is folded, and both sides fold down on move days. We attach a cargo net over both desks to keep things inside the bottom shelf. The chairs then strap to the desk to hold the tops in the down position, which should keep everything safely inside.


Products in this post
 | CUZURLUV 14” Folding Shelf Brackets Max. Load 440 lb, Heavy Duty Stainless Steel DIY Wall Mounted Shelf Bracket Space Saving for Table Work Bench, Pack of 2 |