In the second episode of the 2023 season of “RV life isn’t all fun and games” we bring you a tale of water intrusion, possible mold growth, possible delamination and more. Read on to see how we addressed repairing RV water intrusion caused by the latest leak in our 2022 Sabre 36BHQ.
Bubbles in the Wallpaper
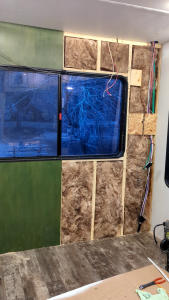
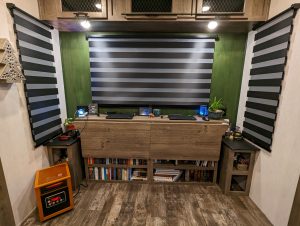
We don’t recall exactly when Brittany noticed that the wallpaper on the rear wall had began to bubble, but we knew that it most likely meant a water leak. The bubbles were appearing at the outer edge of the rear wall on both sides of the large window in the area between the Edison style lights on the wall and where the outlets are located.
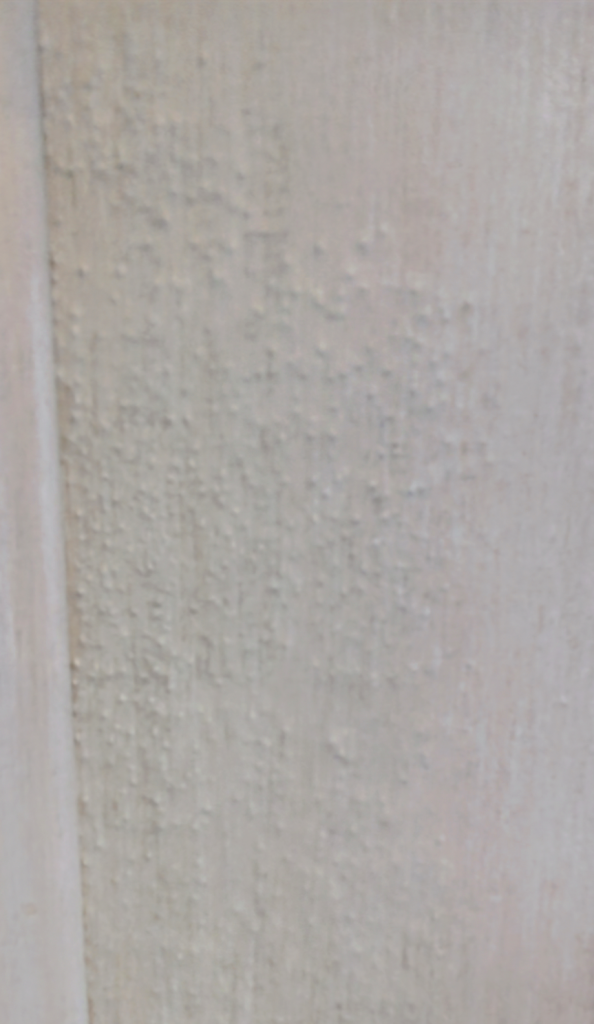
We became concerned because pictures of this type of bubbling we had seen on the internet. The owners of the RVs in the photos almost always found mold under the wall paneling. We knew that we had to get into the wall to assess the damage.
Teardown
Removing Cabinetry
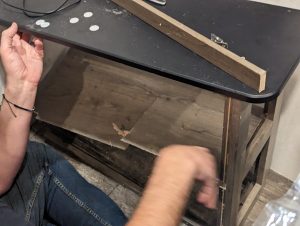
We began by removing our shelf/desk unit and the factory installed side tables. These side tables were installed next to the jack-knife couch that we removed to install our workstations. We kept the side tables and cabinets because they were there and they offered storage space. They weren’t holding up well at all though. The cabinet on the service side had recently broken under the load of the items stored in the cabinet. Thankfully the shore power cord hidden inside the cabinet was not damaged.

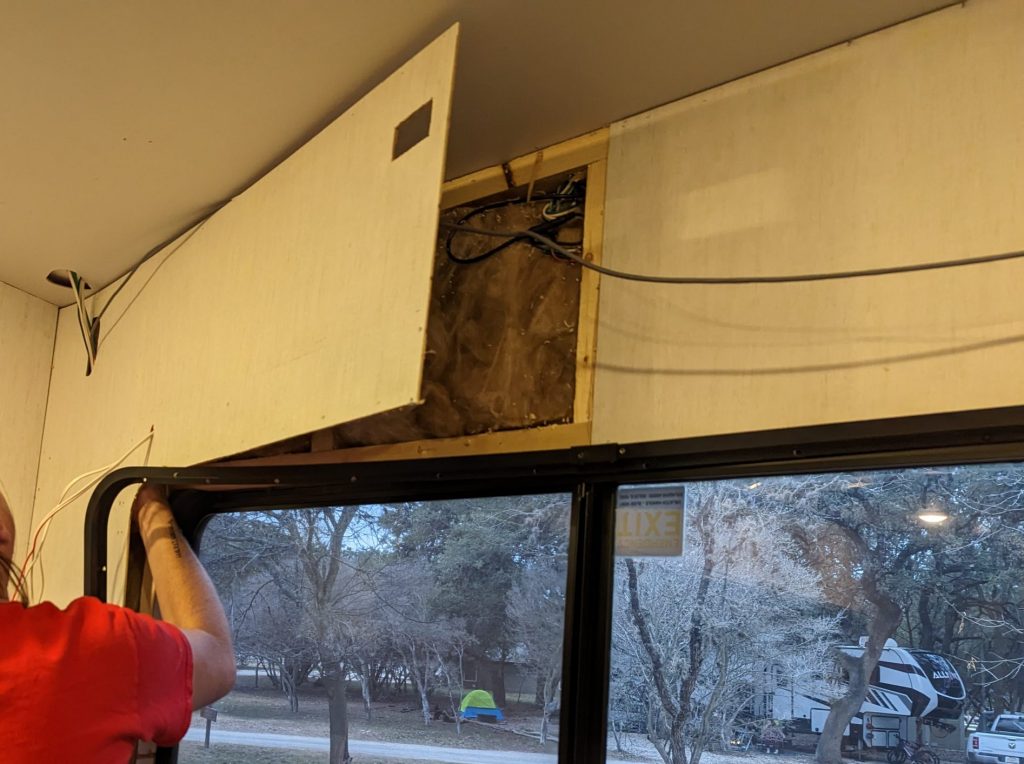
Next we removed the upper cabinet unit. Most of the screws holding the upper cabinet in place are visible within the cabinet. They are the square drive screws which are screwed into the walls and ceiling. But there are more screws hidden in the floor of the cabinet which hold the bottom of the cabinet to the wall. To access these we carefully removed the bottom paneling of the upper cabinet unit to gain access to the screws.
The upper cabinet is exactly as wide as the inside of the RV. This makes removing the cabinet tricky. We carefully lowered the cabinet and moved it into the long vertical side windows. This allows just enough space to tilt and turn the cabinet and remove it from the work area. (We don’t have pictures of this because it took both of us to handle the cabinet.)
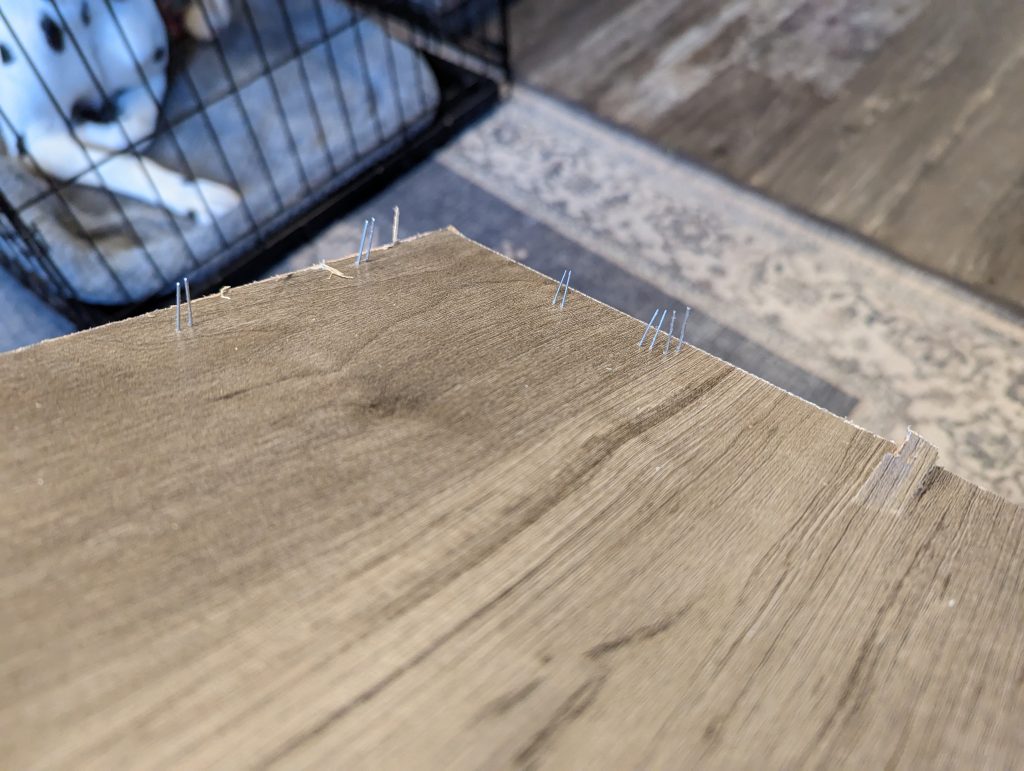
All that was left at this point was to remove the various bits of corner trim. remove the trim strips and the wall paneling. Be careful when handling the trim strips. The ends of the staples are SHARP!
Removing Wallboard
The wallboard is attached with the same narrow crown staples used to attach everything else. We began removing it by slicing the tape covering the joint in the middle of the wall. Then we pried at the seam until the staples either pulled loose or pulled through the wallboard. Note that we never intended to reuse the wallboard, based on the mold assumption.
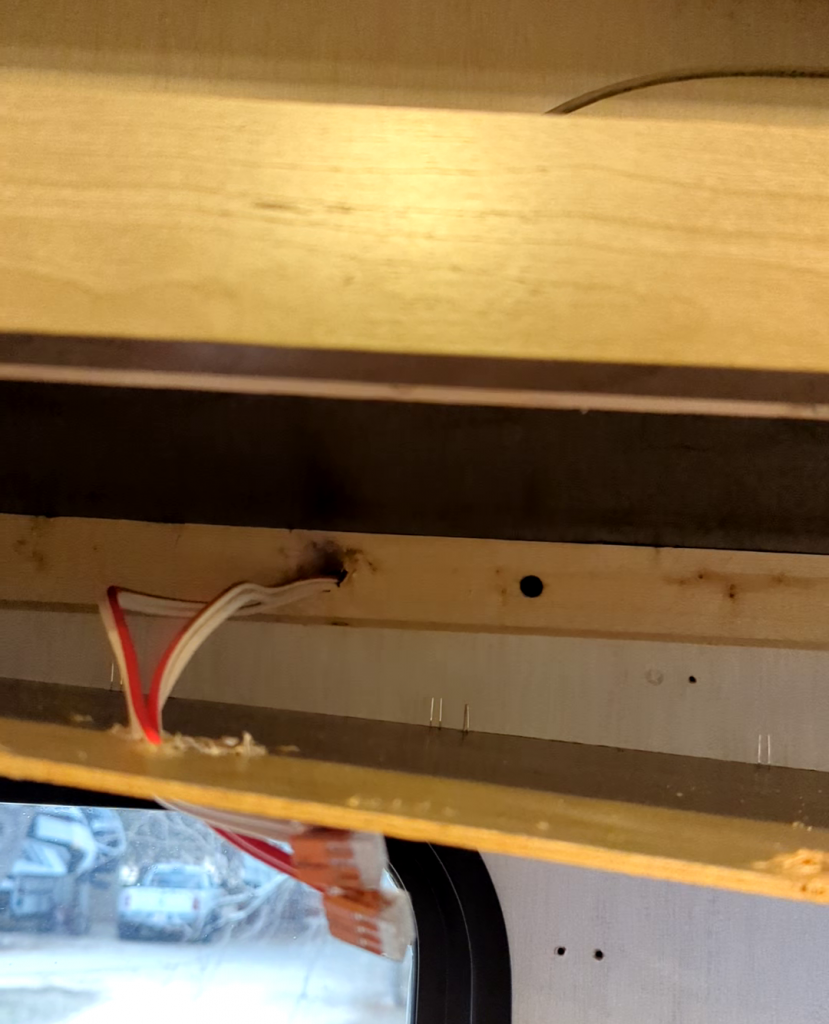
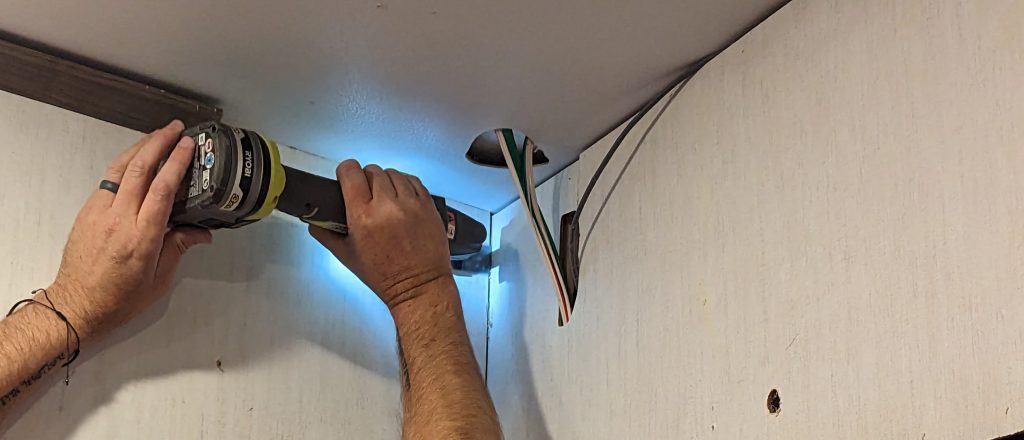
The wallboard pulls away easily at the top and where they meet in the middle (watch out for staples!). At the bottom the wallboard extends below the floor, and the wallboard is sandwiched between the rear and side walls of the RV at the outside edges. There did not seem to be a way to remove this material without removing the entire rear wall from the RV. We opted to use an undercut saw instead, and carefully slit the wallboard along the floor and outside walls.
By removing most of the screws in three sides of the window frame we were able to leave the window in place in the wall. The removed and loosened screws allowed us to pull the frame back enough to pull the wall board out from behind the window frame.
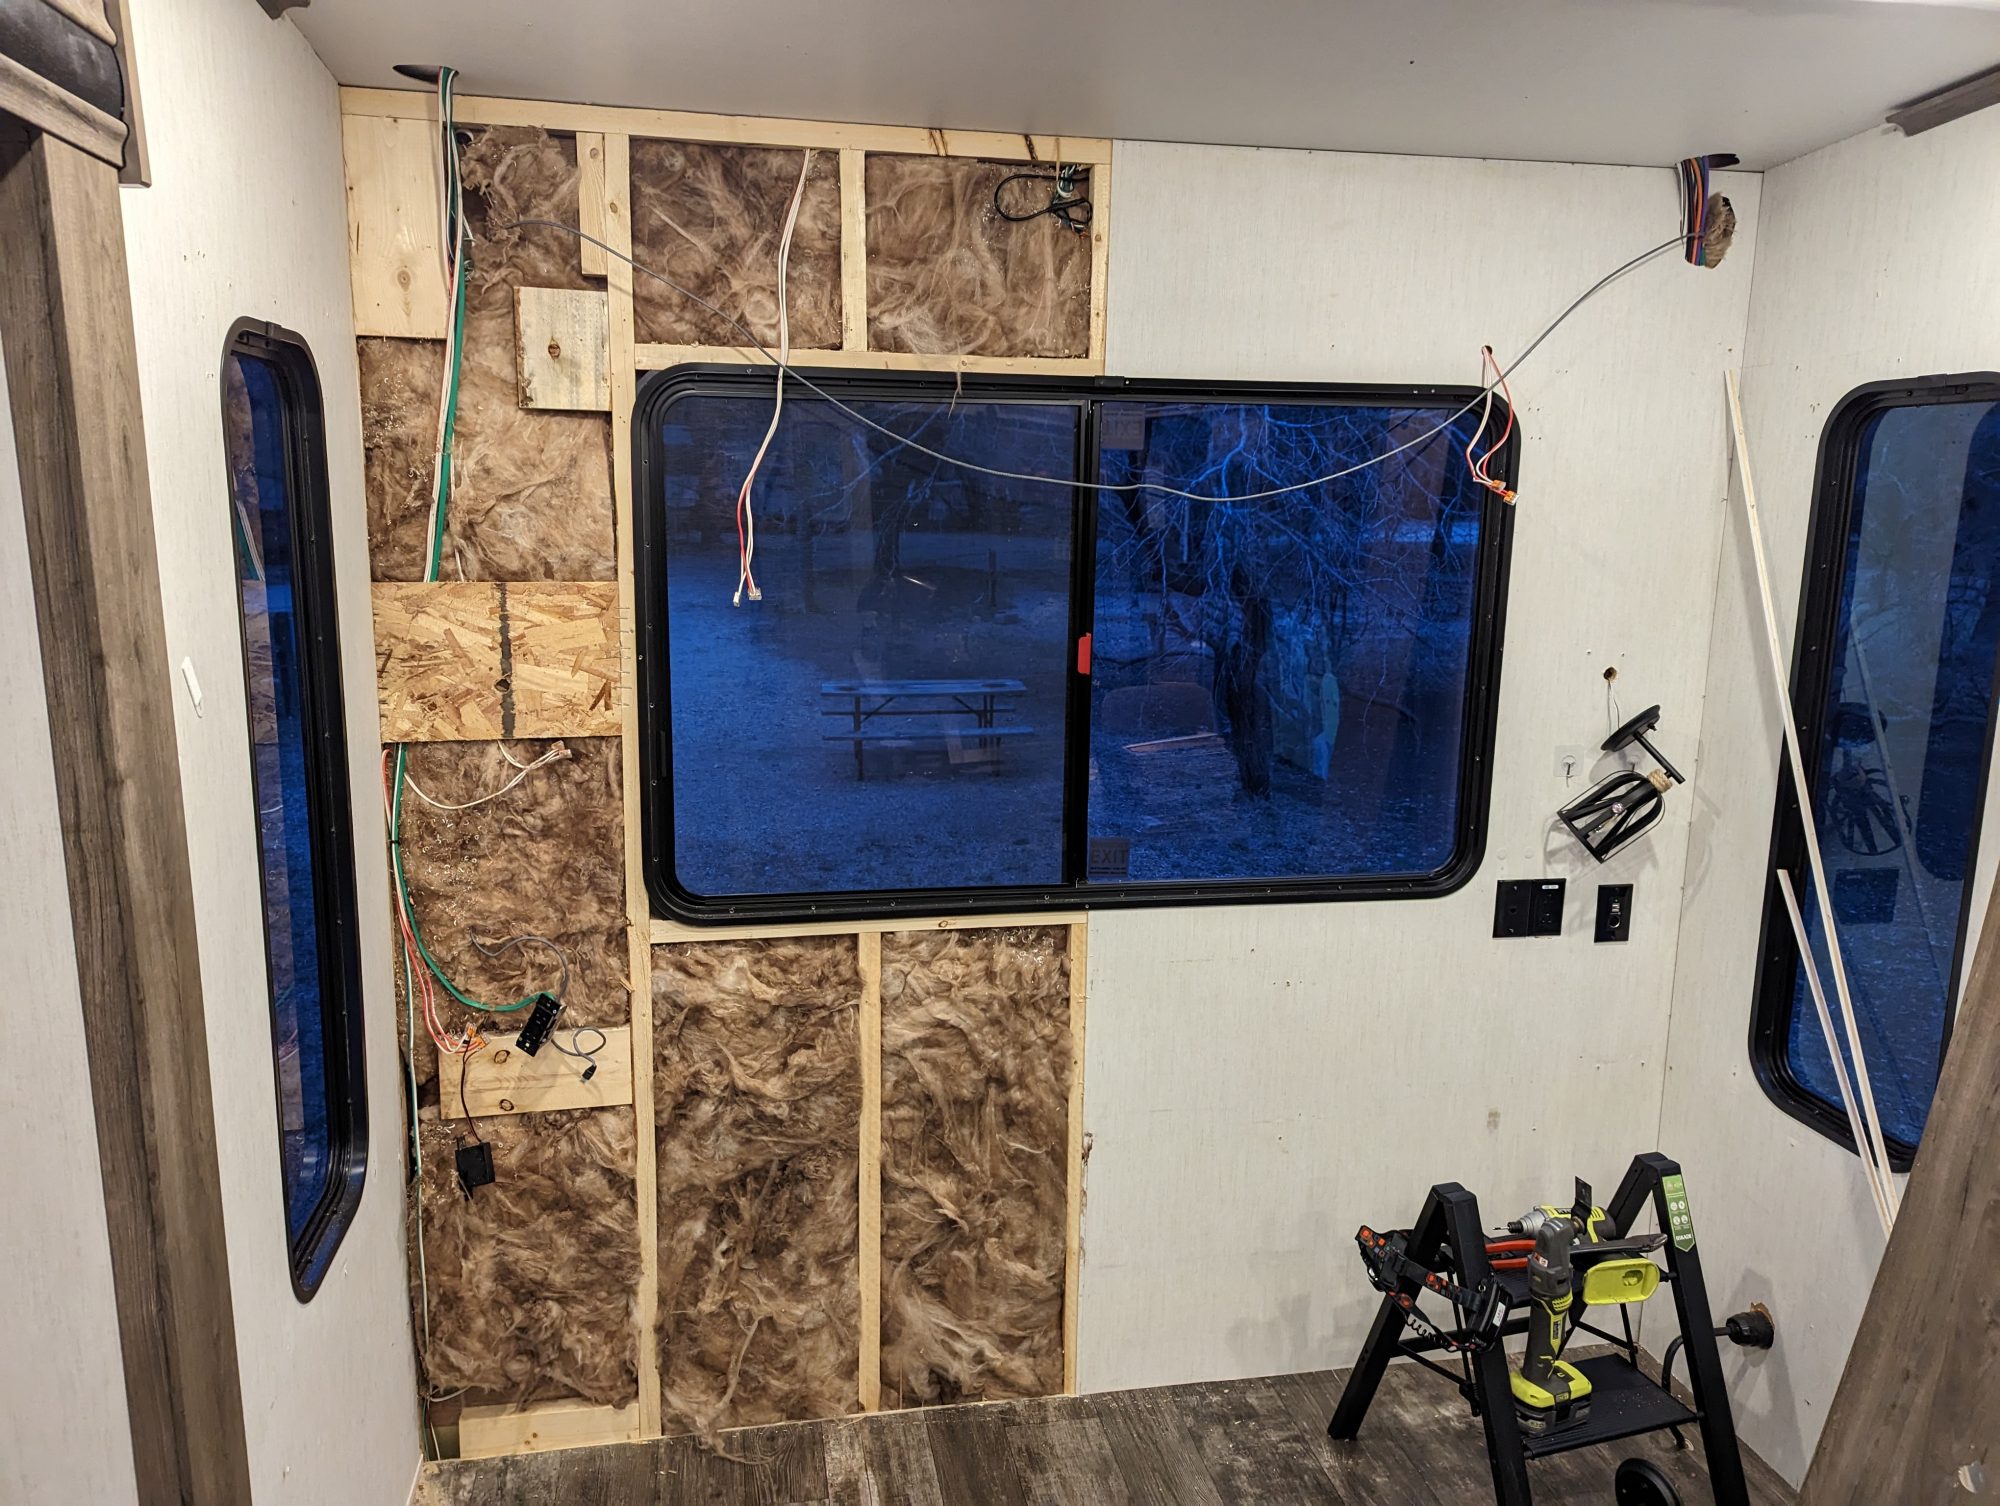
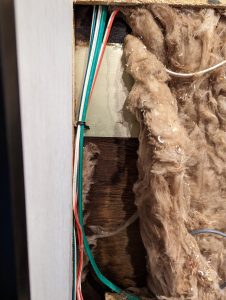
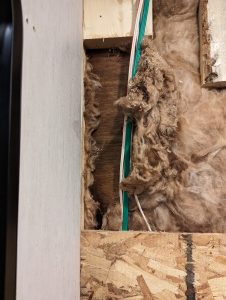
Inspecting and Repairing RV Water Intrusion
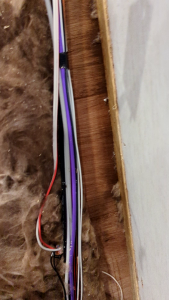
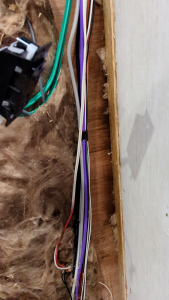
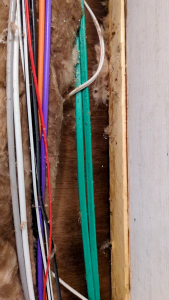
After the wallboard was removed it was easy to see where the water had been coming in, and where it had been running to. We were relieved to find no visible mold on any of the wood! While there were wet areas along both outside seams, we were grateful that we had gotten to the problem before mold had set in. We sprayed the whole area down with vinegar to kill any mold we couldn’t see.
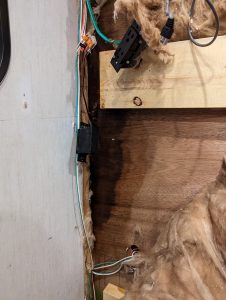
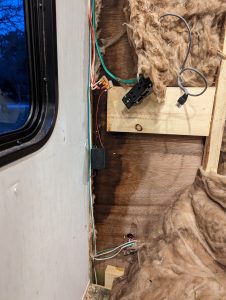
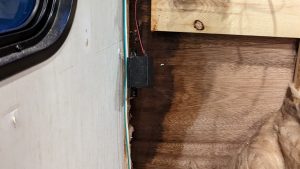
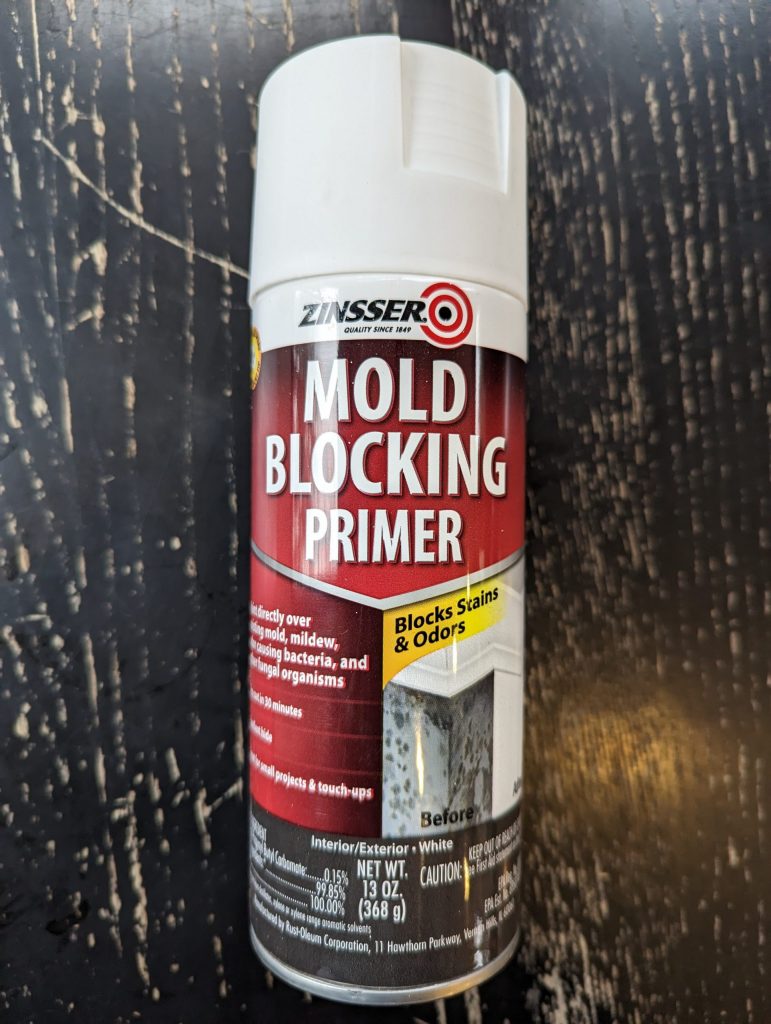
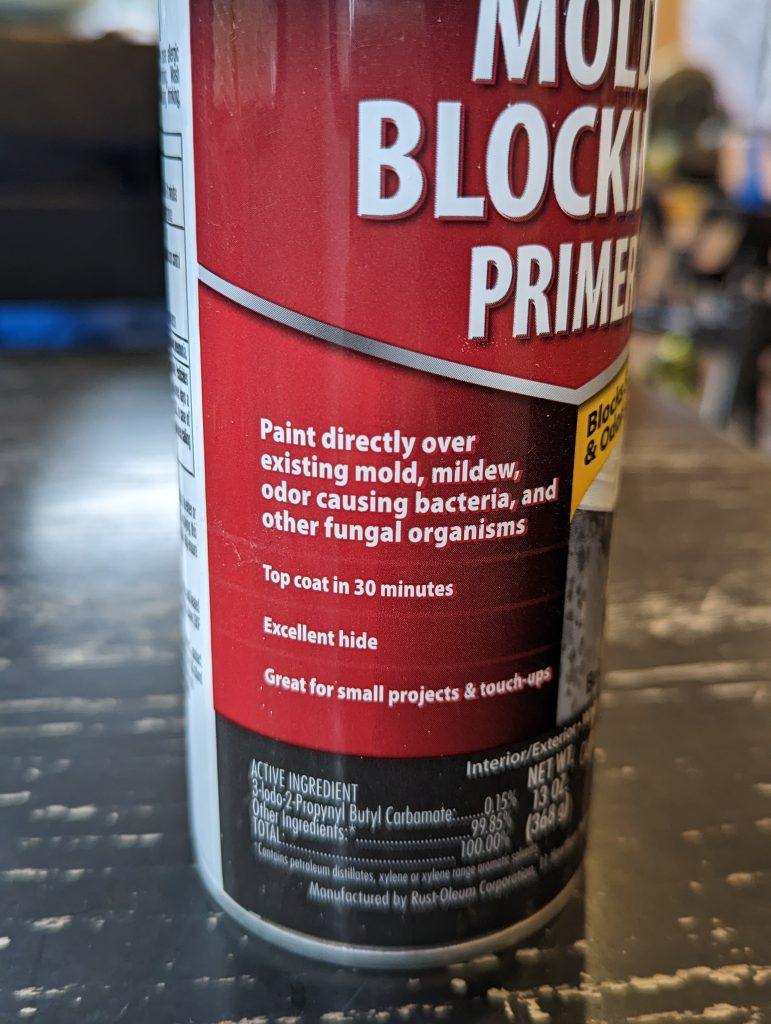
We dried the area with fans and ran a dehumidifier during that time as well. We did not have a moisture meter, but we waited 24 hours after the wall was dry to touch and sight to apply the paint. We used a spray paint because we didn’t want to re-dampen the wall any more than necessary.
After the paint was dry it was time to start putting everything back together. But before that could happen we had to pull what felt like a thousand staples out of the wall. Don’t forget the staples under the window frame.
Replacement Wallboard
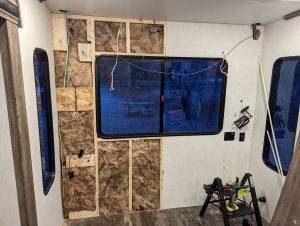
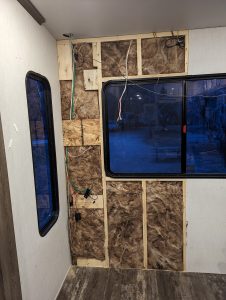
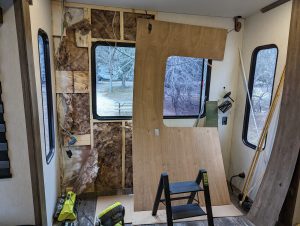
We used 4×8 sheets of 1/5 inch hardwood plywood underlayment from Home Depot to replace the factory installed wallboard. It is the same thickness as the factory installed material, but seems to be much stronger material. The new sheeting resisted breaking much more than the factory panel.
We used the old wall panels as templates to cut out the new panels. Since we weren’t going to wallpaper this wall, we determined which side of the panel we wanted to be visible, then placed the old panel on top of it. Using a marker we traced around the old panel’s outline and openings, then cut out the shape using a our trusty Ryobi jigsaw.
After the pieces were cut out we used our narrow crown stapler and 1″ staples to attach the new panel to the wall. Since the new panel doesn’t extend out to the last member of the wall we put extra staples in the 2×6 blocks on either side.
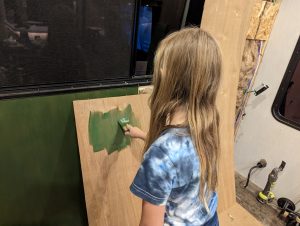
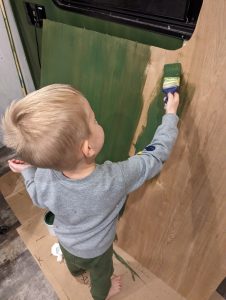
Staining the Panels
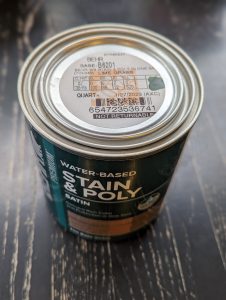
After the pieces were installed the family helped get the panels stained. We used BAER water based stain and poly. We would normally stain outside, but there was a chance of rain in the forecast. It didn’t rain, but we didn’t want to take the chance of having to scrap a panel.
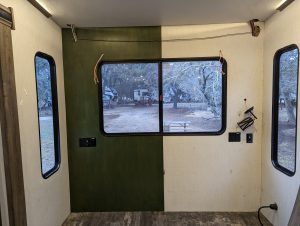
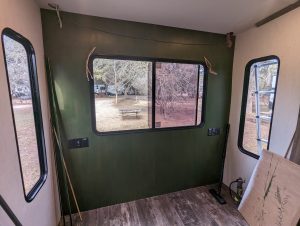
Results
We think it turned out pretty well.

But what about the leak?
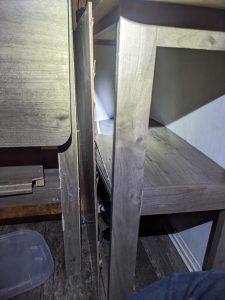
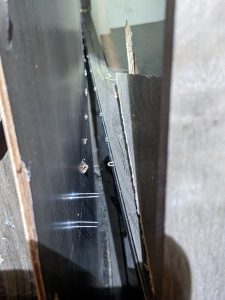
We were worried that the leak was coming from the roof, but after seeing where the water was we were able to identify the actual point of entry. The rearmost vertical corner trim on the outside of the RV was not sealed well. I had assumed that these were sealed with what I had though was an epoxy. I thought that what I was seeing on the seam was the epoxy having squished out from behind the trim. I was obviously mistaken.
What I was seeing was not squished out epoxy. What I was seeing was what Forest River considered “good enough” to seal this seam. Whatever sealant was used is not silicone, nor is it non-sag dicor. It behaves more like the hot glue we found sealing the front cap lights in the RV. Whatever it is, it is not good at its job, and there wasn’t enough of it applied in the first place.
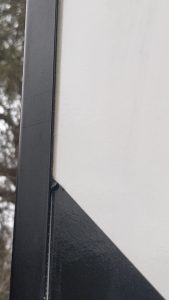
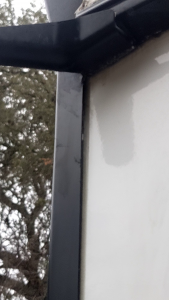
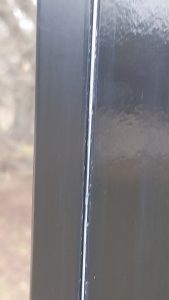
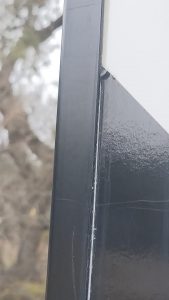
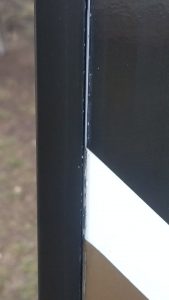
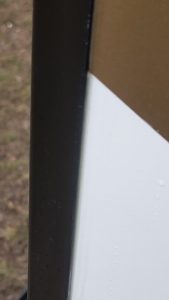
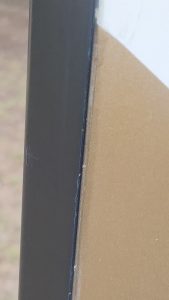

We resealed this seam on both sides with GE Advanced silicone. We used a lot, because we do not want to do this again.
Products featured in this post
This post may contain affiliate links from which we may earn a small commission at no additional expense to you. As an Amazon Associate I earn from qualifying purchases.


